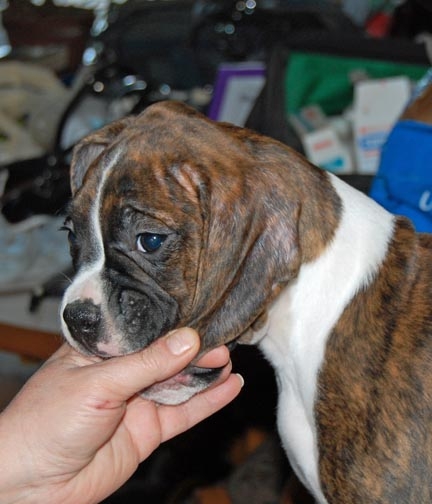
A visual tutorial on taping down a natural ear.
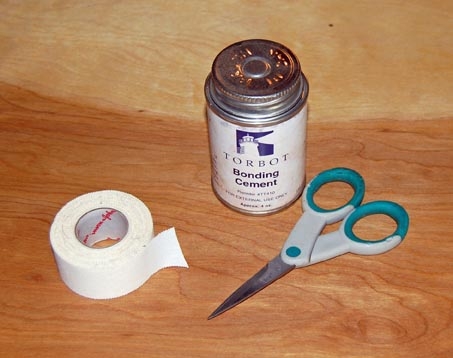
Supplies for taping, tape should be a breathable cloth tape. Skin Bond is hard to find, now, but a good, sticky tape can work alone.
If you need more stick, use a spray on adhesive on the tape.
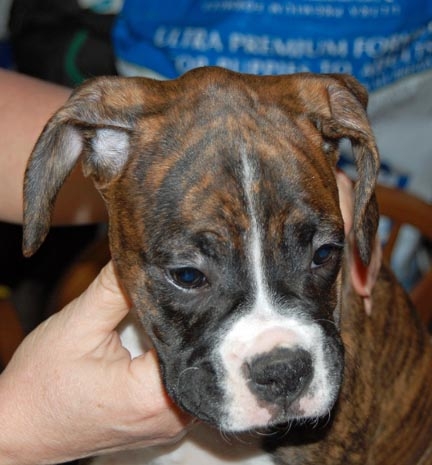
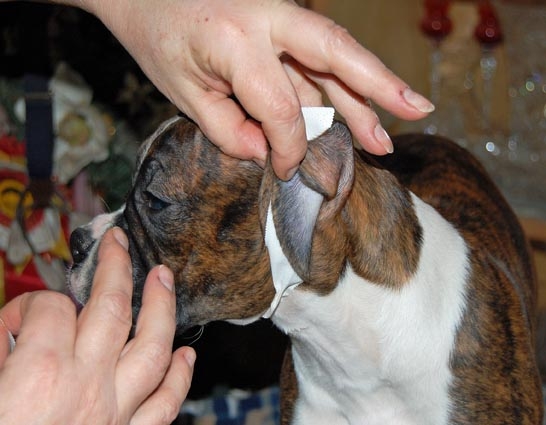
Fly away ears needing a proper fold set, and a flat front lay.
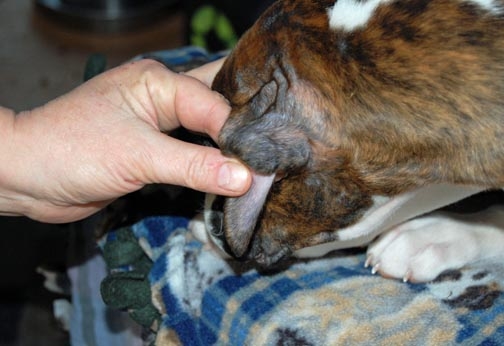
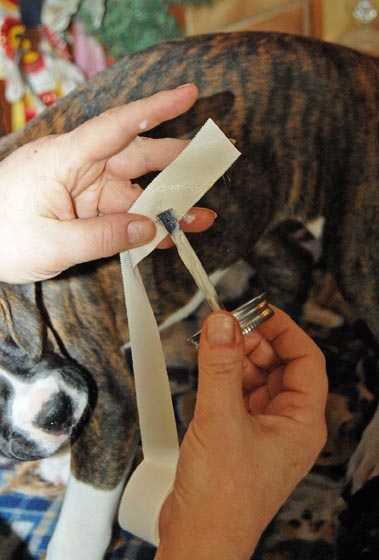
Grasp the ear as shown and fold it.

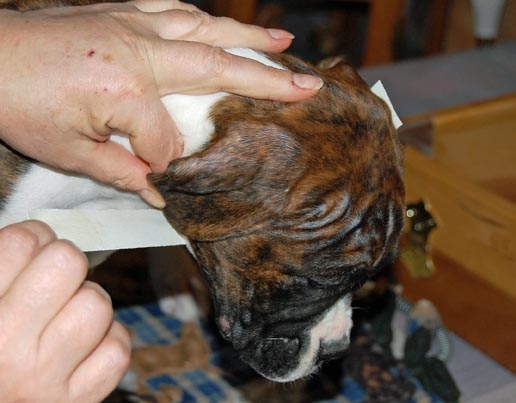
Place the tape just ahead of where the crease in the ear should be; this will help set a proper crease.
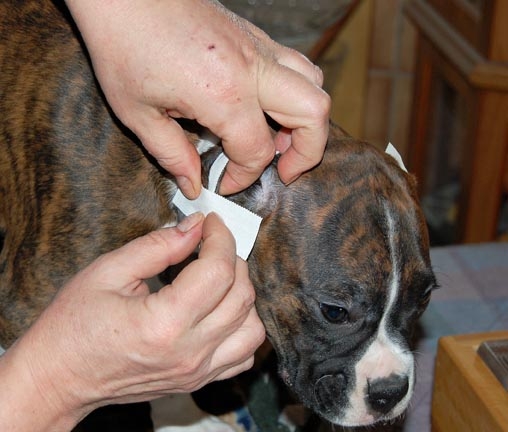
Bring the tape under the chin towards the other ear. Measure and cut the tape so it hits the top of the ear.
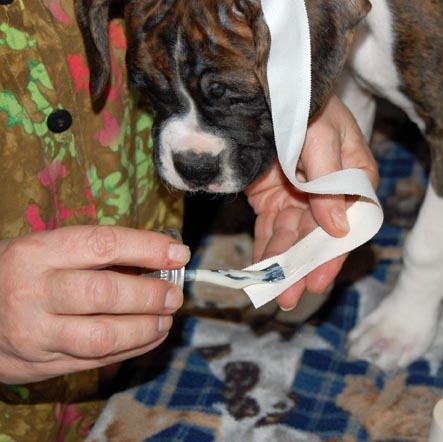
Place the skin bond on the part that will lay against the ear- do not put it on the under chin area.
Lay the tape on the ear in *front* of the crease. It's very important that the tape be in front of the crease.
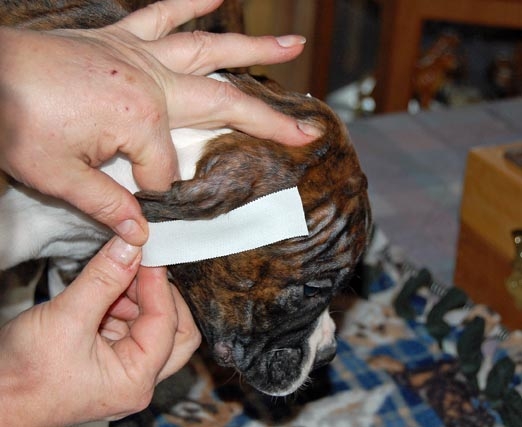
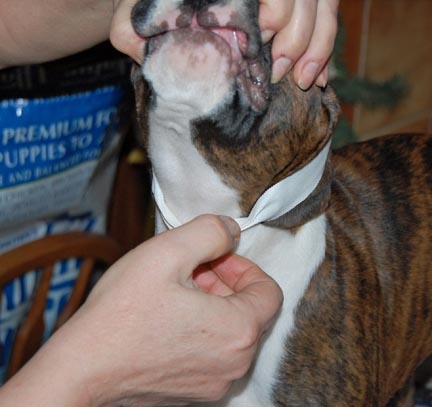
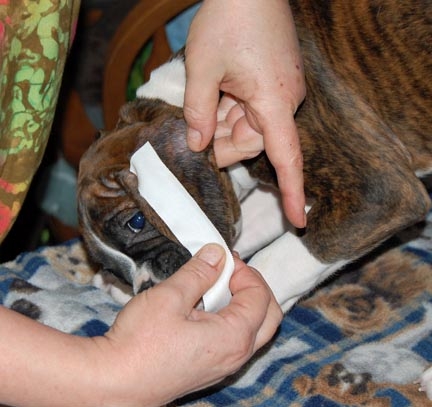
Press the tape into place, then fold the area under the chin so it does not stick to the skin.
Fold the back half of the ear over the tape so ear is now folded in half. Take a small piece of tape,
and wrap around the fold on the lower part of the ear, to hold it in place. Do not wrap too tight, ear should be somewhat flat.
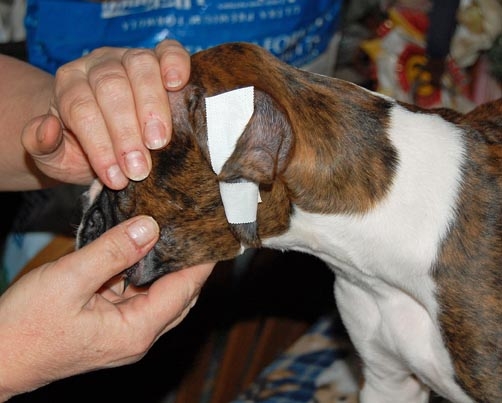
View of taped ear from the side. View of taped ears from the top.
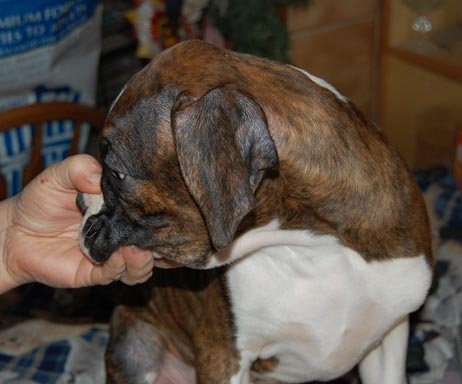
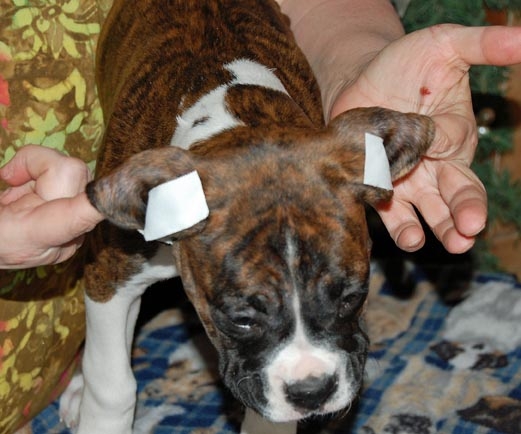
On a properly taped ear, you should be able to put your fingers under the upper back edge and lift the ears.
the back of the ear should be erect so that the ear will be pricked forward when alert. It's *very*
important to not pull down the back upper ear when taping the ear.
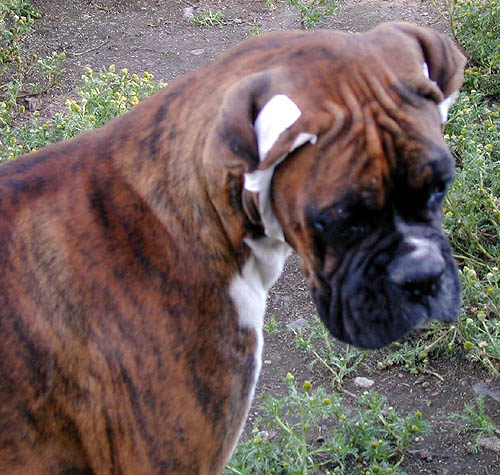
Max in tape at 6 months.
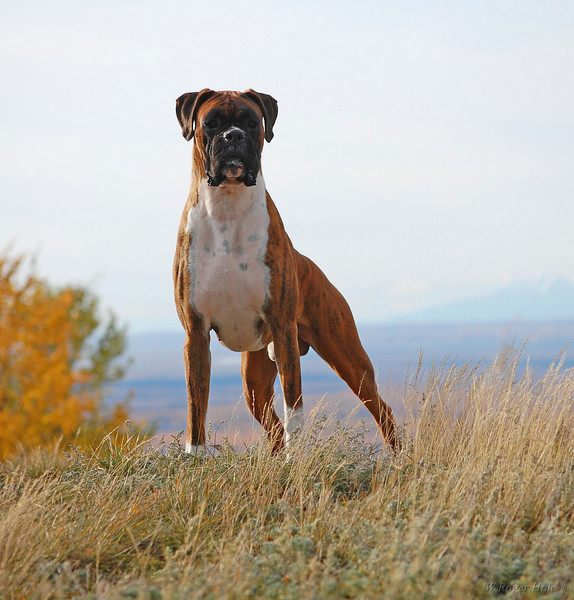
Max as an adult with perfect ears.